Building an ExecuTorch iOS Demo App
Welcome to the tutorial on setting up the ExecuTorch iOS Demo App!
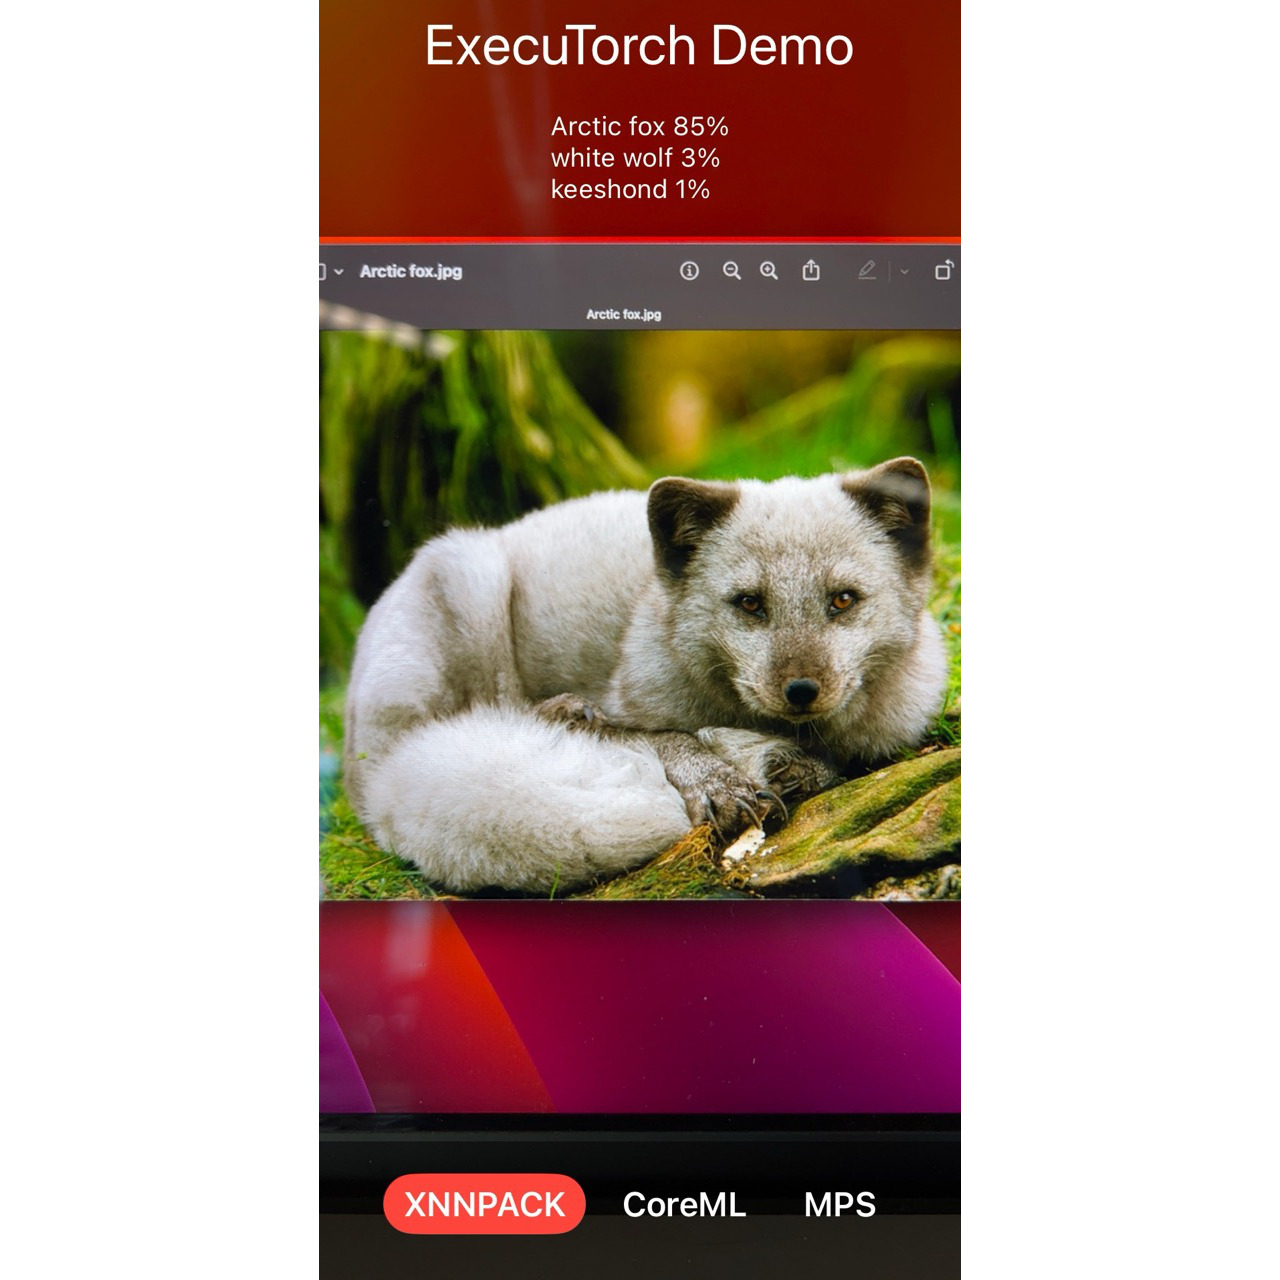
This app uses the MobileNet v3 model to process live camera images leveraging three different backends: XNNPACK, Core ML and Metal Performance Shaders (MPS) (Xcode 15+ and iOS 17+ only).
Prerequisites
Before we start, make sure you have the following tools installed:
1. Xcode 15 and Command Line Tools
Install Xcode 15 from the Mac App Store and then install the Command Line Tools using the terminal:
xcode-select --install
2. Python 3.10+
Python 3.10 or above, along with pip, should be pre-installed on MacOS 13.5+.
If needed, download Python and
install it. Verify the Python and pip versions using these commands:
which python3 pip
python3 --version
pip --version
3. Getting Started Tutorial
Follow the Setting Up ExecuTorch tutorial to configure the basic environment:
git clone https://github.com/pytorch/executorch.git --depth 1 --recurse-submodules --shallow-submodules
cd executorch

python3 -m venv .venv && source .venv/bin/activate

pip install --upgrade cmake pip setuptools wheel

./install_requirements.sh --pybind coreml mps xnnpack
Models and Labels
Now, let’s move on to exporting and bundling the MobileNet v3 model.
1. Export Model
Export the MobileNet v3 model with Core ML, MPS and XNNPACK backends, and move the exported model to a specific location where the Demo App will pick them up:
MODEL_NAME="mv3"

python3 -m examples.portable.scripts.export --model_name="$MODEL_NAME"
python3 -m examples.apple.coreml.scripts.export --model_name="$MODEL_NAME"
python3 -m examples.apple.mps.scripts.mps_example --model_name="$MODEL_NAME"
python3 -m examples.xnnpack.aot_compiler --model_name="$MODEL_NAME" --delegate

mkdir -p examples/demo-apps/apple_ios/ExecuTorchDemo/ExecuTorchDemo/Resources/Models/MobileNet/
mv "$MODEL_NAME*.pte" examples/demo-apps/apple_ios/ExecuTorchDemo/ExecuTorchDemo/Resources/Models/MobileNet/
Final Steps
We’re almost done! Now, we just need to open the project in Xcode, run the tests, and finally run the app.
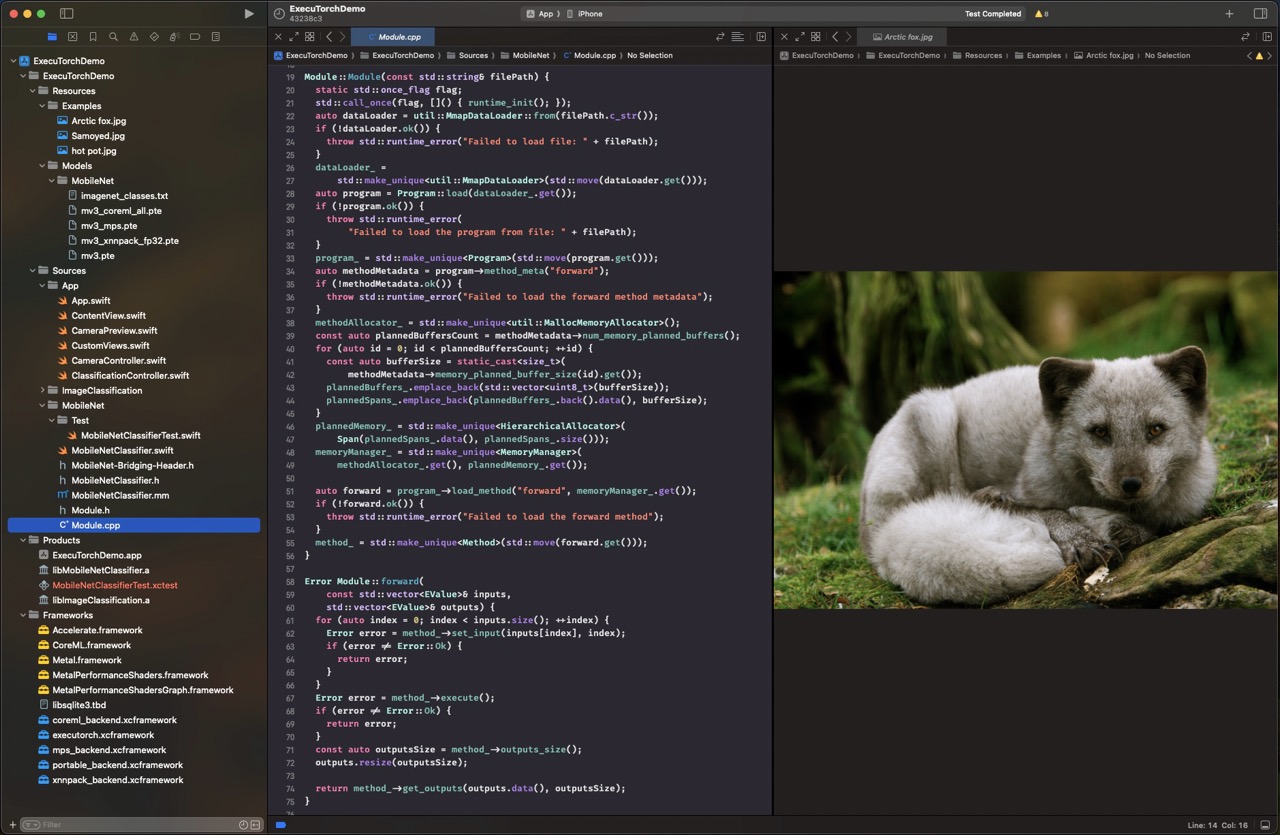
1. Open Project in Xcode
Double-click on the project file under
examples/demo-apps/apple_ios/ExecuTorchDemo or run the command:
open examples/demo-apps/apple_ios/ExecuTorchDemo/ExecuTorchDemo.xcodeproj
2. Run Tests
You can run tests on Simulaltor directly in Xcode with Cmd + U or use the
command line:
xcrun simctl create executorch "iPhone 15"
xcodebuild clean test \
     -project examples/demo-apps/apple_ios/ExecuTorchDemo/ExecuTorchDemo.xcodeproj \
     -scheme App \
     -destination name=executorch
xcrun simctl delete executorch
3. Run App
Finally, connect the device, set up Code Signing in Xcode, and then run the app
using Cmd + R. Try installing a Release build for better performance.
Congratulations! You’ve successfully set up the ExecuTorch iOS Demo App. Now, you can explore and enjoy the power of ExecuTorch on your iOS device!
Learn more about integrating and running ExecuTorch on Apple platforms.