


Note
Click here to download the full example code
Audio Data Augmentation
Author: Moto Hira
torchaudio provides a variety of ways to augment audio data.
In this tutorial, we look into a way to apply effects, filters, RIR (room impulse response) and codecs.
At the end, we synthesize noisy speech over phone from clean speech.
import torch
import torchaudio
import torchaudio.functional as F

print(torch.__version__)
print(torchaudio.__version__)

import matplotlib.pyplot as plt
2.6.0.dev20241104
2.5.0.dev20241105
Preparation
First, we import the modules and download the audio assets we use in this tutorial.
from IPython.display import Audio

from torchaudio.utils import download_asset

SAMPLE_WAV = download_asset("tutorial-assets/steam-train-whistle-daniel_simon.wav")
SAMPLE_RIR = download_asset("tutorial-assets/Lab41-SRI-VOiCES-rm1-impulse-mc01-stu-clo-8000hz.wav")
SAMPLE_SPEECH = download_asset("tutorial-assets/Lab41-SRI-VOiCES-src-sp0307-ch127535-sg0042-8000hz.wav")
SAMPLE_NOISE = download_asset("tutorial-assets/Lab41-SRI-VOiCES-rm1-babb-mc01-stu-clo-8000hz.wav")
  0%|          | 0.00/427k [00:00<?, ?B/s]
100%|##########| 427k/427k [00:00<00:00, 15.9MB/s]

  0%|          | 0.00/31.3k [00:00<?, ?B/s]
100%|##########| 31.3k/31.3k [00:00<00:00, 28.7MB/s]

  0%|          | 0.00/78.2k [00:00<?, ?B/s]
100%|##########| 78.2k/78.2k [00:00<00:00, 76.7MB/s]
Applying effects and filtering
torchaudio.io.AudioEffector allows for directly applying
filters and codecs to Tensor objects, in a similar way as ffmpeg
command
AudioEffector Usages <./effector_tutorial.html> explains how to use this class, so for the detail, please refer to the tutorial.
# Load the data
waveform1, sample_rate = torchaudio.load(SAMPLE_WAV, channels_first=False)

# Define effects
effect = ",".join(
    [
        "lowpass=frequency=300:poles=1",  # apply single-pole lowpass filter
        "atempo=0.8",  # reduce the speed
        "aecho=in_gain=0.8:out_gain=0.9:delays=200:decays=0.3|delays=400:decays=0.3"
        # Applying echo gives some dramatic feeling
    ],
)


# Apply effects
def apply_effect(waveform, sample_rate, effect):
    effector = torchaudio.io.AudioEffector(effect=effect)
    return effector.apply(waveform, sample_rate)


waveform2 = apply_effect(waveform1, sample_rate, effect)

print(waveform1.shape, sample_rate)
print(waveform2.shape, sample_rate)
torch.Size([109368, 2]) 44100
torch.Size([144642, 2]) 44100
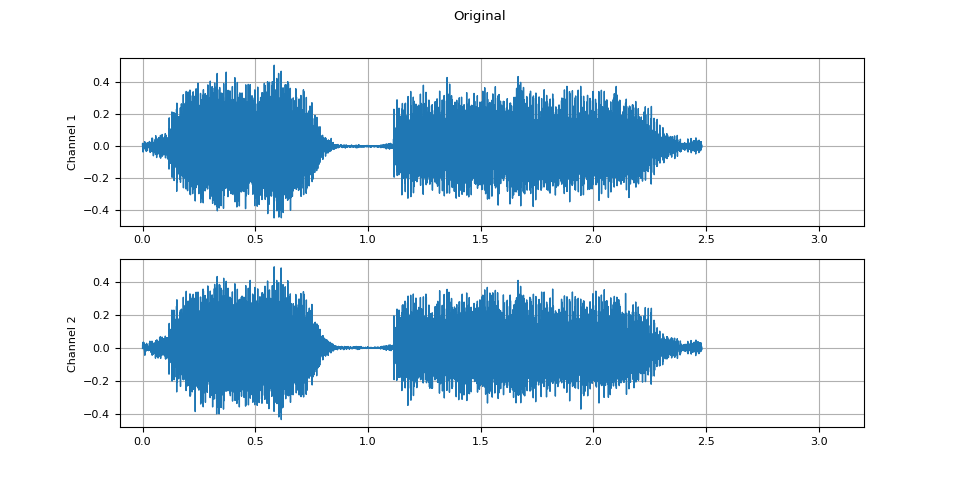
Note that the number of frames and number of channels are different from those of the original after the effects are applied. Let’s listen to the audio.
def plot_waveform(waveform, sample_rate, title="Waveform", xlim=None):
    waveform = waveform.numpy()

    num_channels, num_frames = waveform.shape
    time_axis = torch.arange(0, num_frames) / sample_rate

    figure, axes = plt.subplots(num_channels, 1)
    if num_channels == 1:
        axes = [axes]
    for c in range(num_channels):
        axes[c].plot(time_axis, waveform[c], linewidth=1)
        axes[c].grid(True)
        if num_channels > 1:
            axes[c].set_ylabel(f"Channel {c+1}")
        if xlim:
            axes[c].set_xlim(xlim)
    figure.suptitle(title)
def plot_specgram(waveform, sample_rate, title="Spectrogram", xlim=None):
    waveform = waveform.numpy()

    num_channels, _ = waveform.shape

    figure, axes = plt.subplots(num_channels, 1)
    if num_channels == 1:
        axes = [axes]
    for c in range(num_channels):
        axes[c].specgram(waveform[c], Fs=sample_rate)
        if num_channels > 1:
            axes[c].set_ylabel(f"Channel {c+1}")
        if xlim:
            axes[c].set_xlim(xlim)
    figure.suptitle(title)
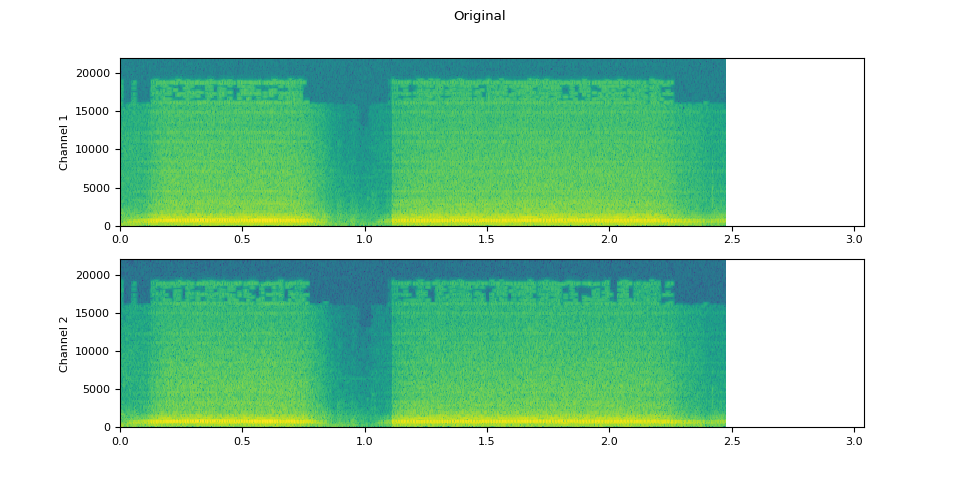
Original
plot_waveform(waveform1.T, sample_rate, title="Original", xlim=(-0.1, 3.2))
plot_specgram(waveform1.T, sample_rate, title="Original", xlim=(0, 3.04))
Audio(waveform1.T, rate=sample_rate)
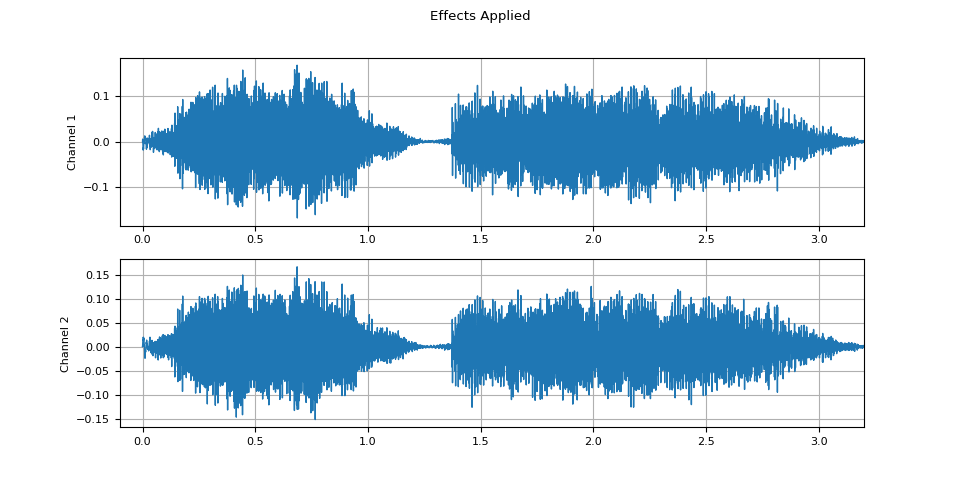
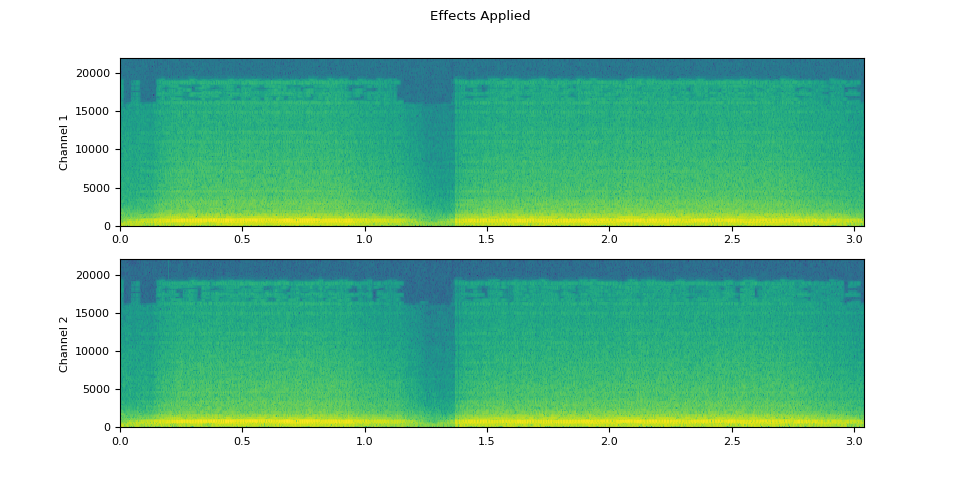
Effects applied
plot_waveform(waveform2.T, sample_rate, title="Effects Applied", xlim=(-0.1, 3.2))
plot_specgram(waveform2.T, sample_rate, title="Effects Applied", xlim=(0, 3.04))
Audio(waveform2.T, rate=sample_rate)
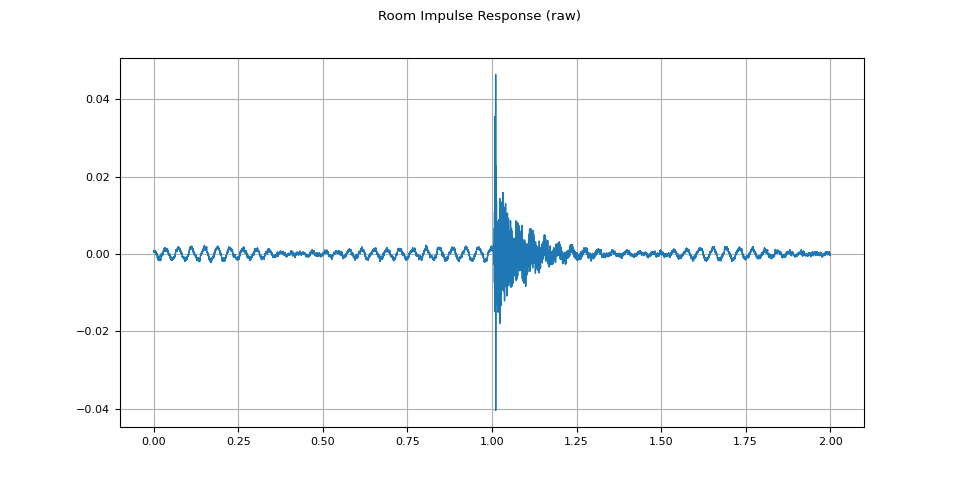
Simulating room reverberation
Convolution reverb is a technique that’s used to make clean audio sound as though it has been produced in a different environment.
Using Room Impulse Response (RIR), for instance, we can make clean speech sound as though it has been uttered in a conference room.
For this process, we need RIR data. The following data are from the VOiCES dataset, but you can record your own — just turn on your microphone and clap your hands.
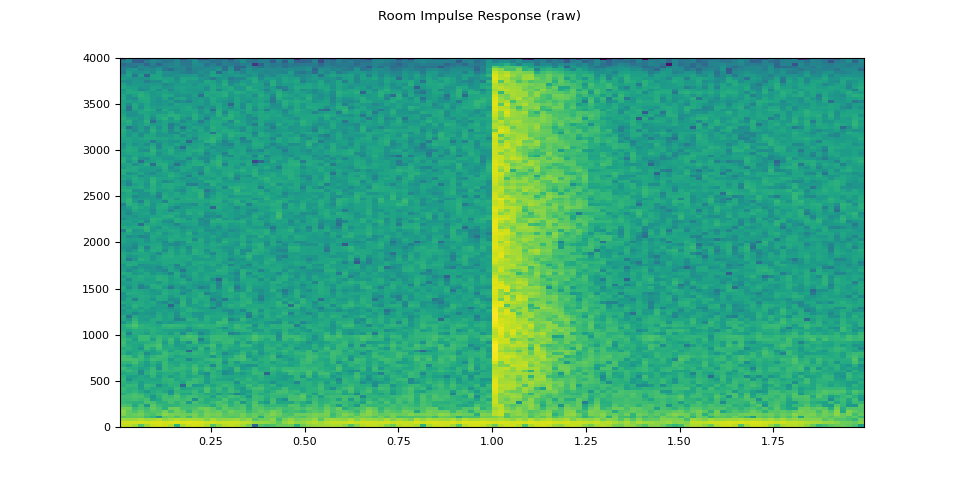
rir_raw, sample_rate = torchaudio.load(SAMPLE_RIR)
plot_waveform(rir_raw, sample_rate, title="Room Impulse Response (raw)")
plot_specgram(rir_raw, sample_rate, title="Room Impulse Response (raw)")
Audio(rir_raw, rate=sample_rate)
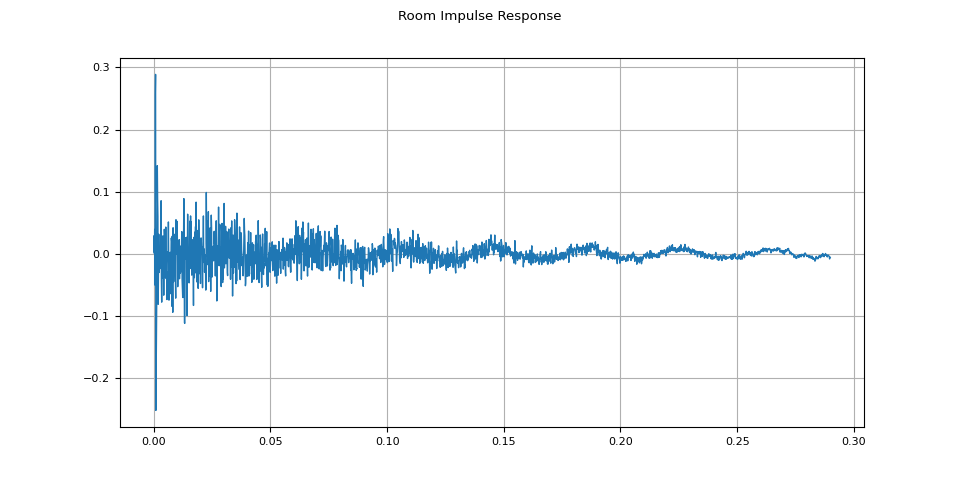
First, we need to clean up the RIR. We extract the main impulse and normalize it by its power.
rir = rir_raw[:, int(sample_rate * 1.01) : int(sample_rate * 1.3)]
rir = rir / torch.linalg.vector_norm(rir, ord=2)

plot_waveform(rir, sample_rate, title="Room Impulse Response")
Then, using torchaudio.functional.fftconvolve(),
we convolve the speech signal with the RIR.
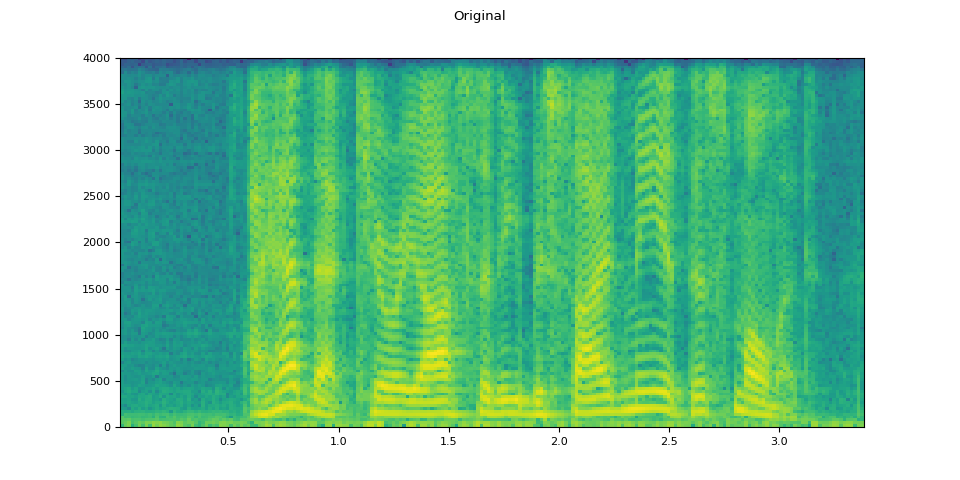
Original
plot_waveform(speech, sample_rate, title="Original")
plot_specgram(speech, sample_rate, title="Original")
Audio(speech, rate=sample_rate)

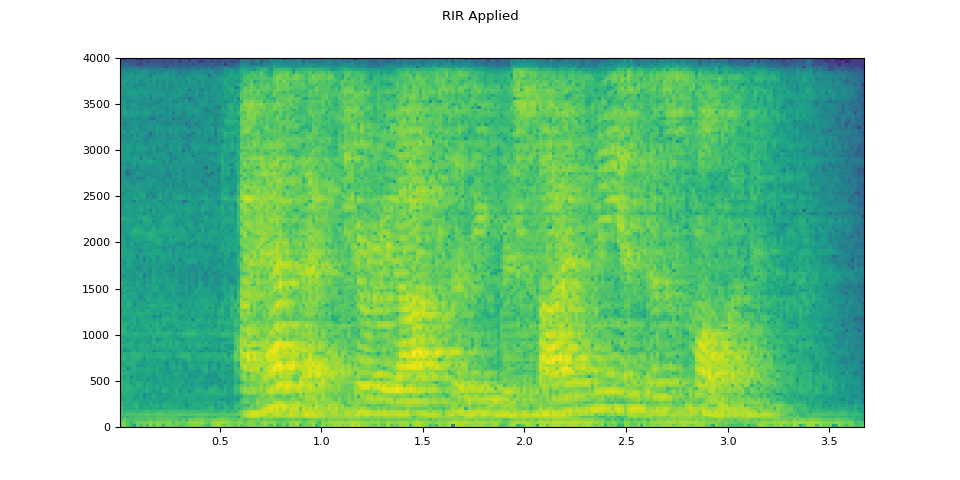
RIR applied
plot_waveform(augmented, sample_rate, title="RIR Applied")
plot_specgram(augmented, sample_rate, title="RIR Applied")
Audio(augmented, rate=sample_rate)

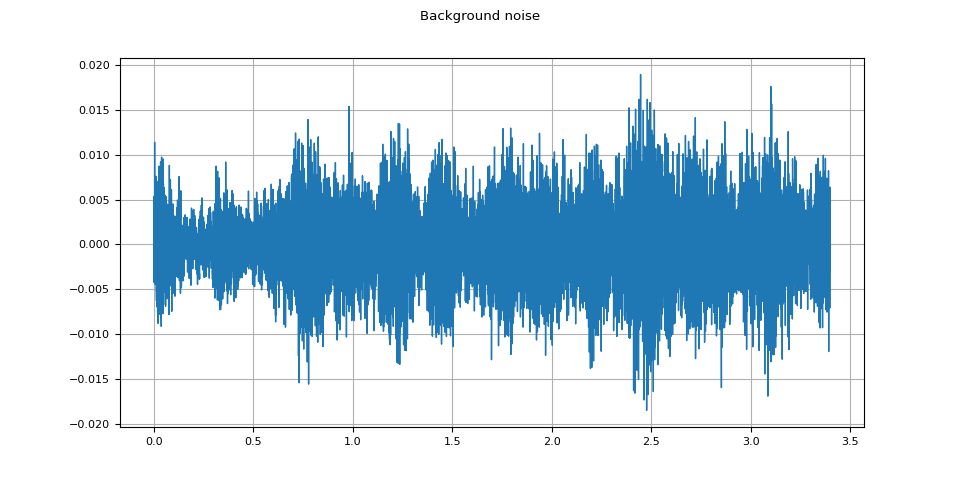
Adding background noise
To introduce background noise to audio data, we can add a noise Tensor to the Tensor representing the audio data according to some desired signal-to-noise ratio (SNR) [wikipedia], which determines the intensity of the audio data relative to that of the noise in the output.
To add noise to audio data per SNRs, we
use torchaudio.functional.add_noise().
speech, _ = torchaudio.load(SAMPLE_SPEECH)
noise, _ = torchaudio.load(SAMPLE_NOISE)
noise = noise[:, : speech.shape[1]]

snr_dbs = torch.tensor([20, 10, 3])
noisy_speeches = F.add_noise(speech, noise, snr_dbs)
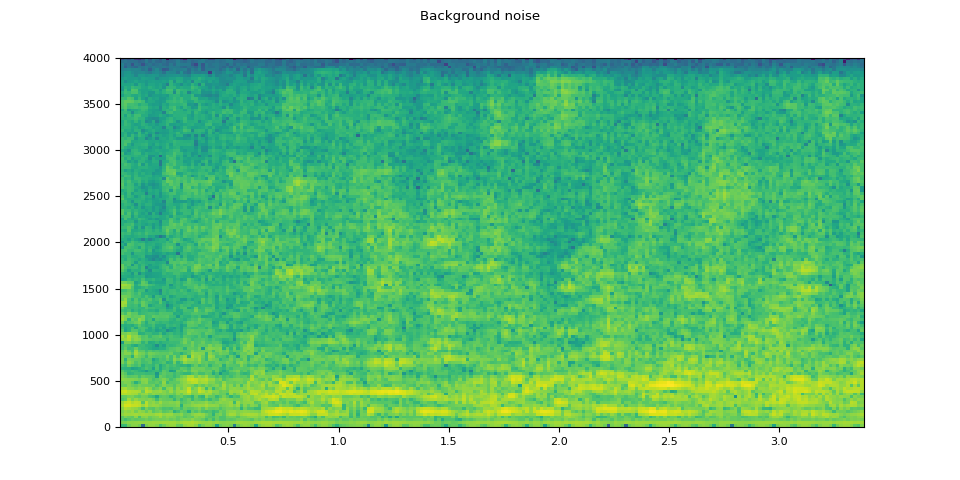
Background noise
plot_waveform(noise, sample_rate, title="Background noise")
plot_specgram(noise, sample_rate, title="Background noise")
Audio(noise, rate=sample_rate)
SNR 20 dB
snr_db, noisy_speech = snr_dbs[0], noisy_speeches[0:1]
plot_waveform(noisy_speech, sample_rate, title=f"SNR: {snr_db} [dB]")
plot_specgram(noisy_speech, sample_rate, title=f"SNR: {snr_db} [dB]")
Audio(noisy_speech, rate=sample_rate)
![SNR: 20 [dB]](../_images/sphx_glr_audio_data_augmentation_tutorial_014.png)
![SNR: 20 [dB]](../_images/sphx_glr_audio_data_augmentation_tutorial_015.png)
SNR 10 dB
snr_db, noisy_speech = snr_dbs[1], noisy_speeches[1:2]
plot_waveform(noisy_speech, sample_rate, title=f"SNR: {snr_db} [dB]")
plot_specgram(noisy_speech, sample_rate, title=f"SNR: {snr_db} [dB]")
Audio(noisy_speech, rate=sample_rate)
![SNR: 10 [dB]](../_images/sphx_glr_audio_data_augmentation_tutorial_016.png)
![SNR: 10 [dB]](../_images/sphx_glr_audio_data_augmentation_tutorial_017.png)
SNR 3 dB
snr_db, noisy_speech = snr_dbs[2], noisy_speeches[2:3]
plot_waveform(noisy_speech, sample_rate, title=f"SNR: {snr_db} [dB]")
plot_specgram(noisy_speech, sample_rate, title=f"SNR: {snr_db} [dB]")
Audio(noisy_speech, rate=sample_rate)
![SNR: 3 [dB]](../_images/sphx_glr_audio_data_augmentation_tutorial_018.png)
![SNR: 3 [dB]](../_images/sphx_glr_audio_data_augmentation_tutorial_019.png)
Applying codec to Tensor object
torchaudio.io.AudioEffector can also apply codecs to
a Tensor object.
waveform, sample_rate = torchaudio.load(SAMPLE_SPEECH, channels_first=False)


def apply_codec(waveform, sample_rate, format, encoder=None):
    encoder = torchaudio.io.AudioEffector(format=format, encoder=encoder)
    return encoder.apply(waveform, sample_rate)
Original
plot_waveform(waveform.T, sample_rate, title="Original")
plot_specgram(waveform.T, sample_rate, title="Original")
Audio(waveform.T, rate=sample_rate)


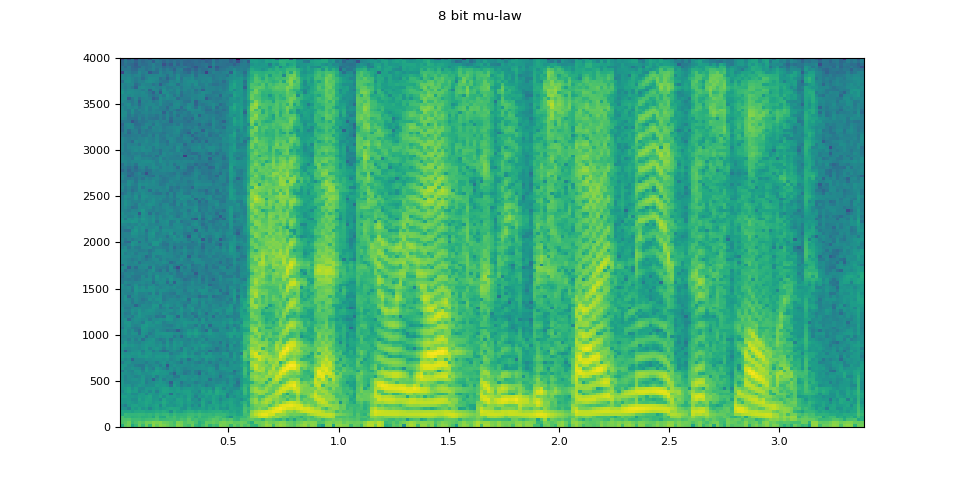
8 bit mu-law
mulaw = apply_codec(waveform, sample_rate, "wav", encoder="pcm_mulaw")
plot_waveform(mulaw.T, sample_rate, title="8 bit mu-law")
plot_specgram(mulaw.T, sample_rate, title="8 bit mu-law")
Audio(mulaw.T, rate=sample_rate)

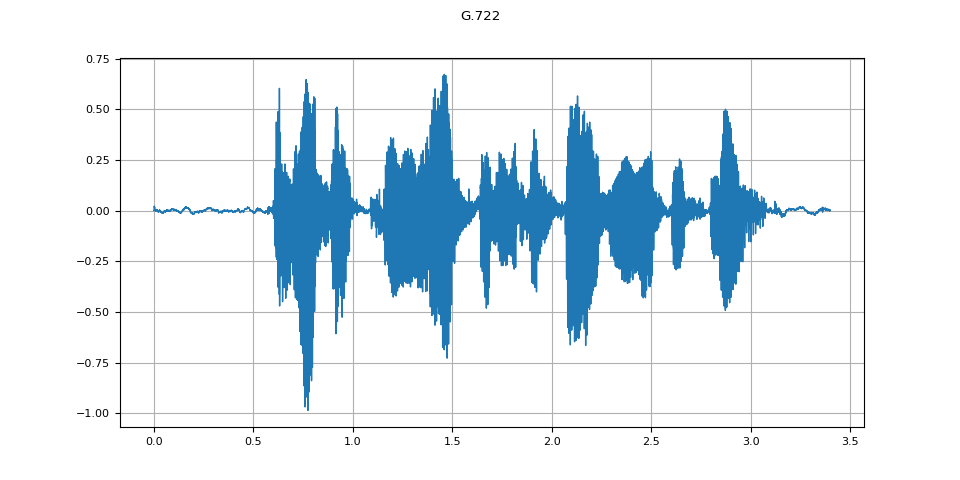
G.722
g722 = apply_codec(waveform, sample_rate, "g722")
plot_waveform(g722.T, sample_rate, title="G.722")
plot_specgram(g722.T, sample_rate, title="G.722")
Audio(g722.T, rate=sample_rate)

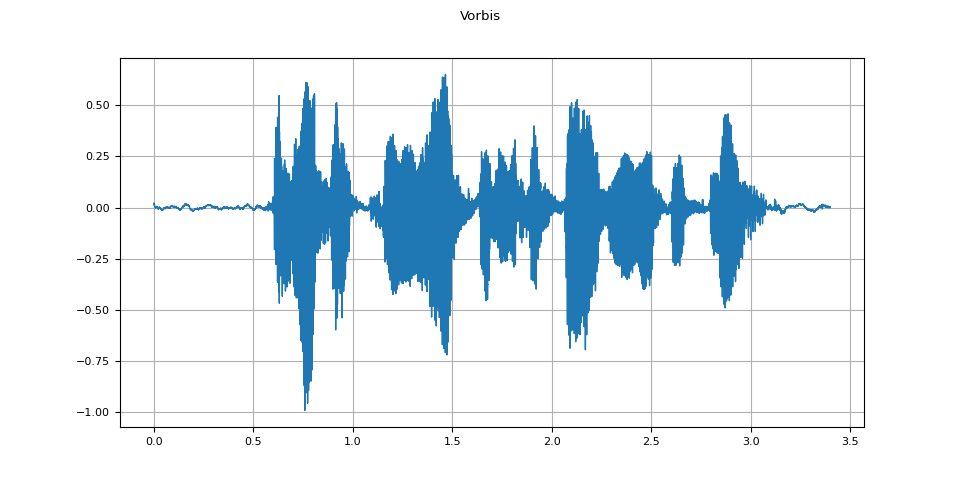
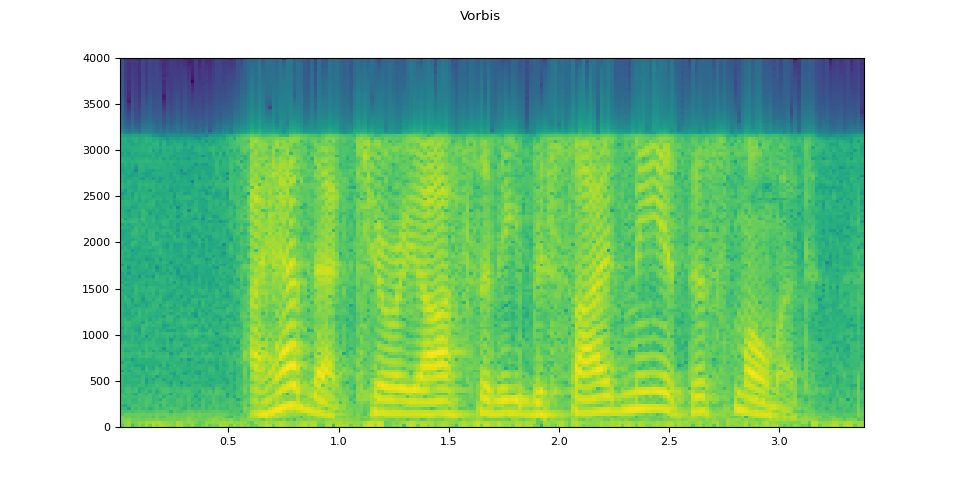
Vorbis
vorbis = apply_codec(waveform, sample_rate, "ogg", encoder="vorbis")
plot_waveform(vorbis.T, sample_rate, title="Vorbis")
plot_specgram(vorbis.T, sample_rate, title="Vorbis")
Audio(vorbis.T, rate=sample_rate)
Simulating a phone recoding
Combining the previous techniques, we can simulate audio that sounds like a person talking over a phone in a echoey room with people talking in the background.
sample_rate = 16000
original_speech, sample_rate = torchaudio.load(SAMPLE_SPEECH)
plot_specgram(original_speech, sample_rate, title="Original")
# Apply RIR
rir_applied = F.fftconvolve(speech, rir)
plot_specgram(rir_applied, sample_rate, title="RIR Applied")
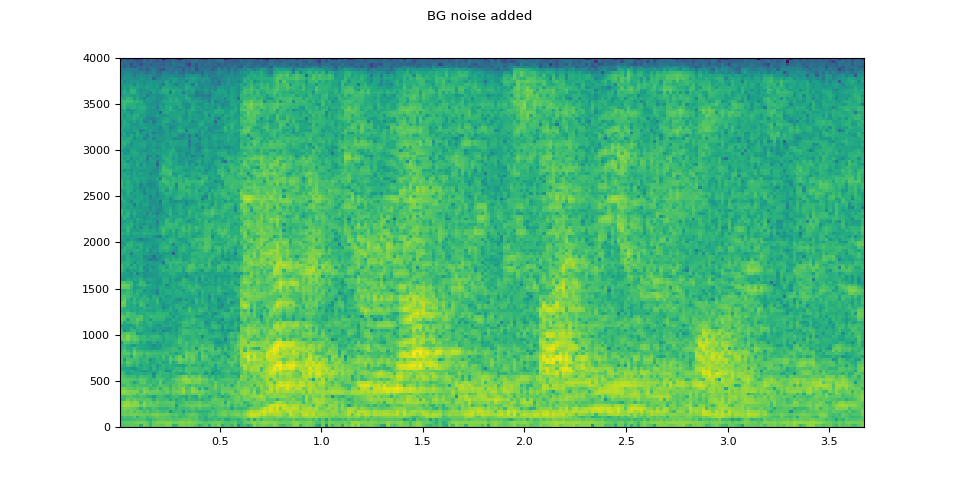
# Add background noise
# Because the noise is recorded in the actual environment, we consider that
# the noise contains the acoustic feature of the environment. Therefore, we add
# the noise after RIR application.
noise, _ = torchaudio.load(SAMPLE_NOISE)
noise = noise[:, : rir_applied.shape[1]]
snr_db = torch.tensor([8])
bg_added = F.add_noise(rir_applied, noise, snr_db)
plot_specgram(bg_added, sample_rate, title="BG noise added")
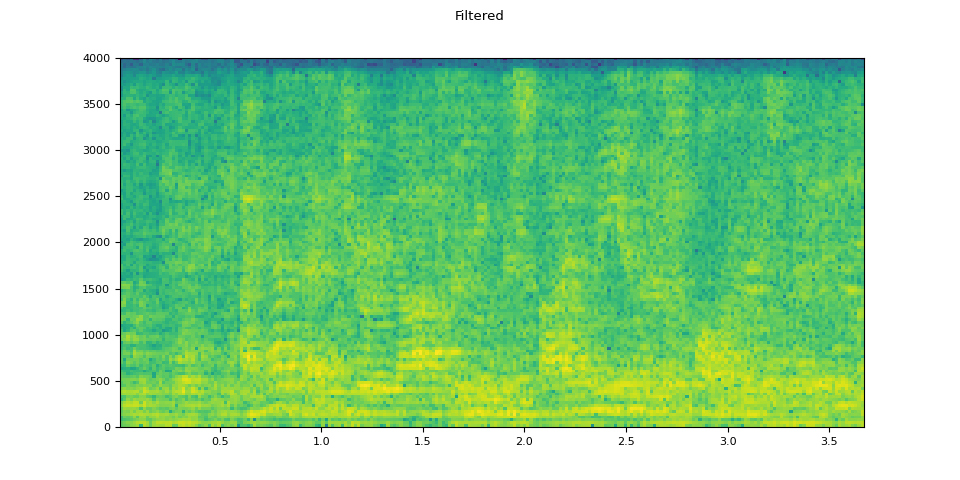
# Apply filtering and change sample rate
effect = ",".join(
[
"lowpass=frequency=4000:poles=1",
"compand=attacks=0.02:decays=0.05:points=-60/-60|-30/-10|-20/-8|-5/-8|-2/-8:gain=-8:volume=-7:delay=0.05",
]
)
filtered = apply_effect(bg_added.T, sample_rate, effect)
sample_rate2 = 8000
plot_specgram(filtered.T, sample_rate2, title="Filtered")
# Apply telephony codec
codec_applied = apply_codec(filtered, sample_rate2, "g722")
plot_specgram(codec_applied.T, sample_rate2, title="G.722 Codec Applied")


Original speech
Audio(original_speech, rate=sample_rate)
RIR applied
Audio(rir_applied, rate=sample_rate)
Background noise added
Audio(bg_added, rate=sample_rate)
Filtered
Audio(filtered.T, rate=sample_rate2)
Codec applied
Audio(codec_applied.T, rate=sample_rate2)
Total running time of the script: ( 0 minutes 14.700 seconds)
