Using ExecuTorch on Android
To use from Android, ExecuTorch provides Java/Kotlin API bindings and Android platform integration, available as an AAR file.
Note: This page covers Android app integration through the AAR library. The ExecuTorch C++ APIs can also be used from Android native, and the documentation can be found on this page about cross compilation.
Installation
All ExecuTorch Android libraries are packaged into an Android library (AAR), executorch.aar for both generic (image/audio processing) and LLM (LLaMA) use case. In each release, prebuilt AAR artifacts are uploaded to Maven and S3. Users can also build the AAR from source.
Contents of library
The AAR artifact contains the Java library for users to integrate with their Java/Kotlin application code, as well as the corresponding JNI library (.so file), which is loaded by the Java code during initialization.
JNI contains the JNI binding for the corresponding Java code, and ExecuTorch native library, including
core ExecuTorch runtime libraries
XNNPACK backend
Portable kernels
Optimized kernels
Quantized kernels
LLaMa-specific Custom ops library.
Comes with two ABI variants, arm64-v8a and x86_64.
The AAR library can be used for generic Android device with arm64-v8a or x86_64 architecture. It can be used across form factors, including phones, tablets, tv boxes, etc, as it does not contain any UI components.
Using AAR from Maven Central
ExecuTorch is available on Maven Central.
Simply add the target org.pytorch:executorch-android:0.5.1 to your Android app dependency (build.gradle), and build your app.
For example:
# app/build.gradle.kts
dependencies {
    implementation("org.pytorch:executorch-android:0.5.1")
}
Note: org.pytorch:executorch-android:0.5.1 corresponds to executorch v0.5.0.
Click the screenshot below to watch the demo video on how to add the package and run a simple ExecuTorch model with Android Studio.
Using AAR file directly
You can also directly specify an AAR file in the app. We upload pre-built AAR to S3 during each release, or as a snapshot.
Using AAR file
To add the AAR file to your app:
Download the AAR.
Add it to your gradle build rule as a file path.
An AAR file itself does not contain dependency info, unlike the Maven one which bundled with pom.xml. The Java package requires fbjni and soloader, and currently requires users to explicitly declare the dependency. Therefore, two more dependencies in gradle rule is required:
implementation("com.facebook.soloader:soloader:0.10.5")
implementation("com.facebook.fbjni:fbjni:0.5.1")
Example usage
In your app working directory, such as executorch/examples/demo-apps/android/LlamaDemo,
mkdir -p app/libs
curl https://ossci-android.s3.amazonaws.com/executorch/release/v0.5.0-rc3/executorch.aar -o app/libs/executorch.aar
And include it in gradle:
# app/build.gradle.kts
dependencies {
    implementation(files("libs/executorch.aar"))
    implementation("com.facebook.soloader:soloader:0.10.5")
    implementation("com.facebook.fbjni:fbjni:0.5.1")
}
Now you can compile your app with the ExecuTorch Android library.
Building from Source
scripts/build_android_library.sh is a helper script to build the Java library (into .jar), native library (into .so), and the packaged AAR file. It can also build
demo apps to showcase the AAR is integrated into a user app correctly.
You need Android SDK and NDK to use it.
Current NDK version used in ExecuTorch CI: r27b.
You need to set ANDROID_HOME to Android SDK home and ANDROID_NDK to the correct NDK root (containing NOTICE file).
export ANDROID_HOME=/path/to/sdk
export ANDROID_NDK=/path/to/ndk
sh scripts/build_android_library.sh
Currently, XNNPACK backend is always built with the script.
Optional environment variables
Optionally, set these environment variables before running build_android_library.sh.
ANDROID_ABIS
Set environment variable ANDROID_ABIS to either arm64-v8a or x86_64 if you only need to build the native library for one ABI only.
export ANDROID_ABIS=arm64-v8a
# or
# export ANDROID_ABIS=x86_64
sh scripts/build_android_library.sh
EXECUTORCH_CMAKE_BUILD_TYPE
Set environment variable EXECUTORCH_CMAKE_BUILD_TYPE to Release or Debug based on your needs.
Using MediaTek backend
To use MediaTek backend,
after installing and setting up the SDK, set NEURON_BUFFER_ALLOCATOR_LIB and NEURON_USDK_ADAPTER_LIB to the corresponding path.
Using Qualcomm AI Engine Backend
To use Qualcomm AI Engine Backend,
after installing and setting up the SDK, set QNN_SDK_ROOT to the corresponding path.
Using Vulkan Backend
To use Vulkan Backend,
set EXECUTORCH_BUILD_VULKAN to ON.
Runtime Integration
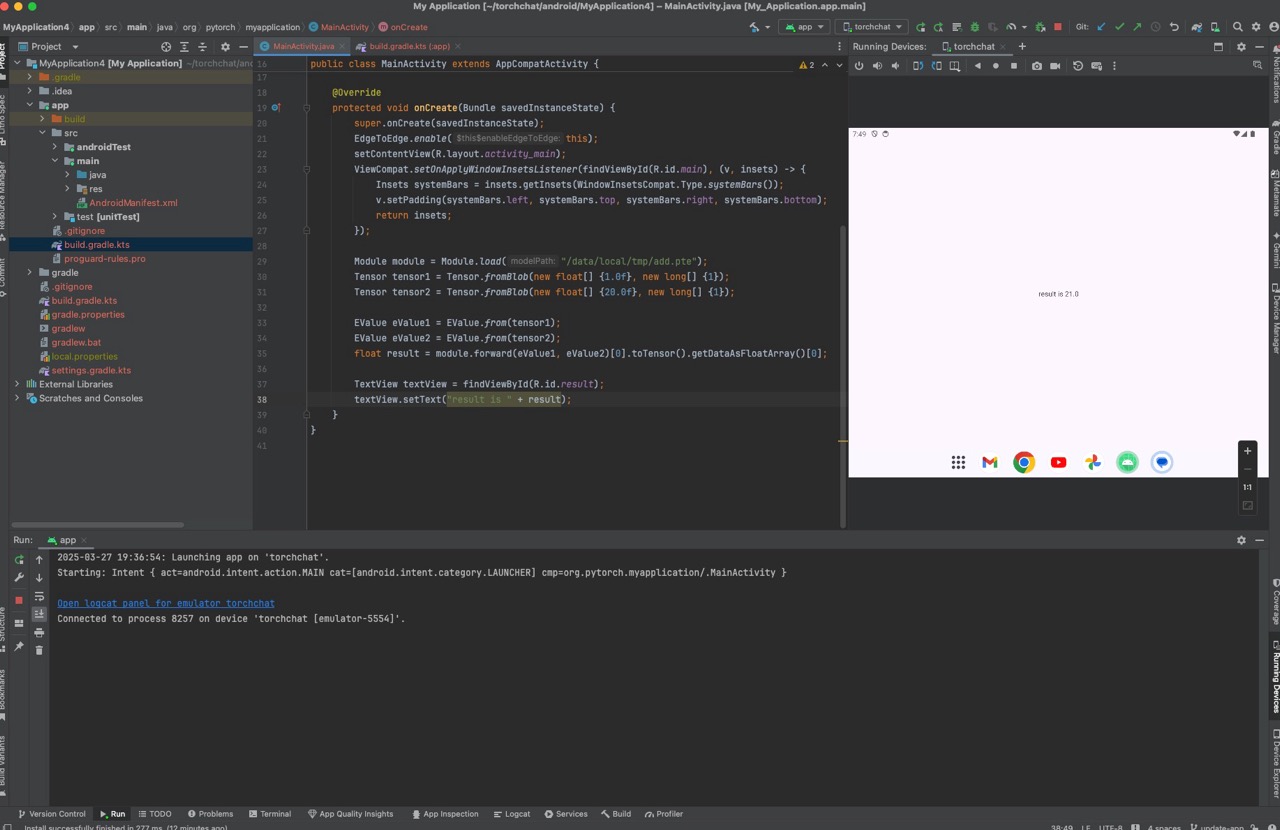
Here is an example code sample in Java that demonstrates how to integrate ExecuTorch into an Android app:
import org.pytorch.executorch.EValue;
import org.pytorch.executorch.Module;
import org.pytorch.executorch.Tensor;

public class MainActivity extends Activity {
    private Module module;

    @Override
    protected void onCreate(Bundle savedInstanceState) {
        super.onCreate(savedInstanceState);
        // Load the ExecuTorch module
        module = Module.load("/path/to/module.pte");
    }
    public void runInference(View view) {
        // Prepare input data
        Tensor input = Tensor.fromBlob(getInputData());
        // Run inference
        Tensor output = module.forward(EValue.from(input))[0].toTensor();
        // Process output data
        processOutput(output);
    }
}
This example loads an ExecuTorch module, prepares input data, runs inference, and processes the output data.
Please use DeepLabV3AndroidDemo and LlamaDemo for the code examples using ExecuTorch AAR package.
Java API reference
Please see Java API reference.
