


Real Time Inference on Raspberry Pi 4 (30 fps!)
Author: Tristan Rice
PyTorch has out of the box support for Raspberry Pi 4. This tutorial will guide you on how to setup a Raspberry Pi 4 for running PyTorch and run a MobileNet v2 classification model in real time (30 fps+) on the CPU.
This was all tested with Raspberry Pi 4 Model B 4GB but should work with the 2GB variant as well as on the 3B with reduced performance.
Prerequisites
To follow this tutorial you’ll need a Raspberry Pi 4, a camera for it and all the other standard accessories.
Heat sinks and Fan (optional but recommended)
5V 3A USB-C Power Supply
SD card (at least 8gb)
SD card read/writer
Raspberry Pi 4 Setup
PyTorch only provides pip packages for Arm 64bit (aarch64) so you’ll need to install a 64 bit version of the OS on your Raspberry Pi
You can download the latest arm64 Raspberry Pi OS from https://downloads.raspberrypi.org/raspios_arm64/images/ and install it via rpi-imager.
32-bit Raspberry Pi OS will not work.
Installation will take at least a few minutes depending on your internet speed and sdcard speed. Once it’s done it should look like:
Time to put your sdcard in your Raspberry Pi, connect the camera and boot it up.
Once that boots and you complete the initial setup you’ll need to edit the /boot/config.txt file to enable the camera.
# This enables the extended features such as the camera.
start_x=1

# This needs to be at least 128M for the camera processing, if it's bigger you can just leave it as is.
gpu_mem=128

# You need to commment/remove the existing camera_auto_detect line since this causes issues with OpenCV/V4L2 capture.
#camera_auto_detect=1
And then reboot. After you reboot the video4linux2 device /dev/video0 should exist.
Installing PyTorch and OpenCV
PyTorch and all the other libraries we need have ARM 64-bit/aarch64 variants so you can just install them via pip and have it work like any other Linux system.
$ pip install torch torchvision torchaudio
$ pip install opencv-python
$ pip install numpy --upgrade
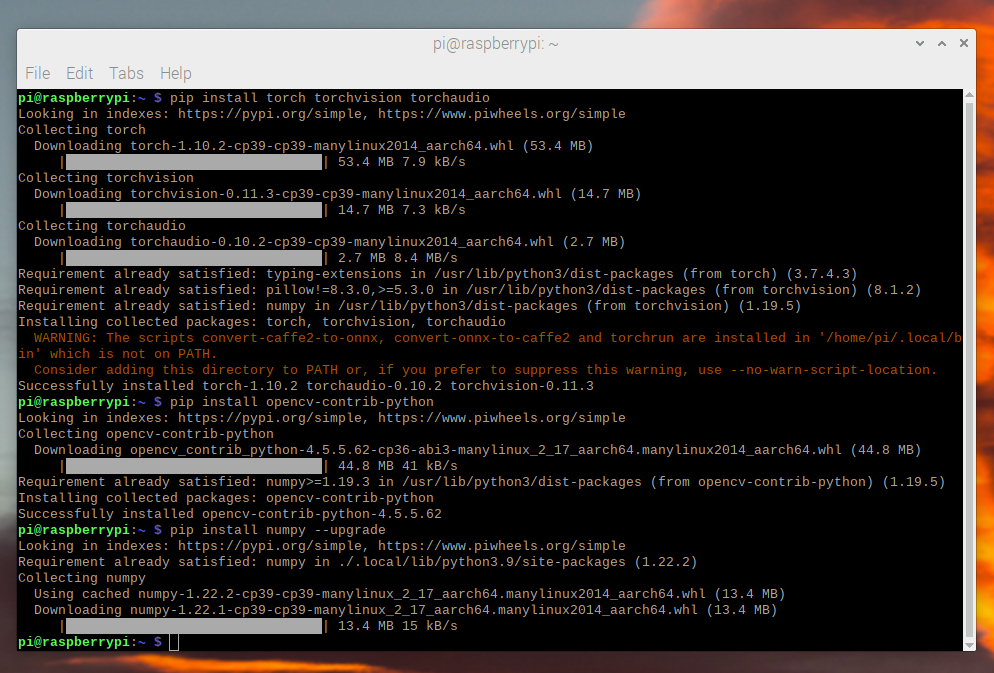
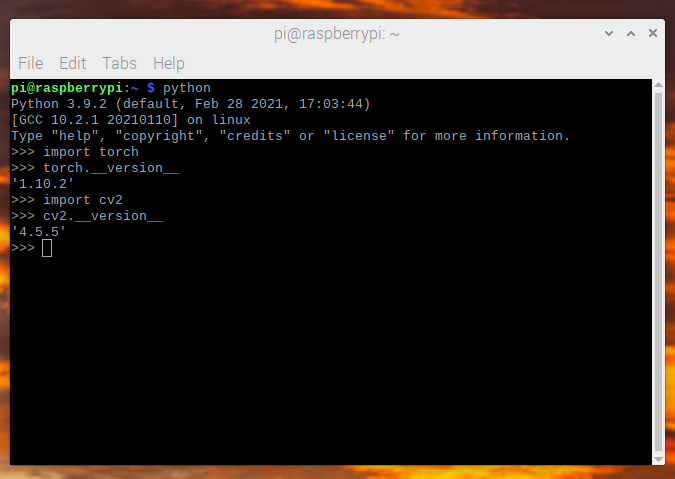
We can now check that everything installed correctly:
$ python -c "import torch; print(torch.__version__)"
Video Capture
For video capture we’re going to be using OpenCV to stream the video frames
instead of the more common picamera. picamera isn’t available on 64-bit
Raspberry Pi OS and it’s much slower than OpenCV. OpenCV directly accesses the
/dev/video0 device to grab frames.
The model we’re using (MobileNetV2) takes in image sizes of 224x224 so we
can request that directly from OpenCV at 36fps. We’re targeting 30fps for the
model but we request a slightly higher framerate than that so there’s always
enough frames.
import cv2
from PIL import Image

cap = cv2.VideoCapture(0)
cap.set(cv2.CAP_PROP_FRAME_WIDTH, 224)
cap.set(cv2.CAP_PROP_FRAME_HEIGHT, 224)
cap.set(cv2.CAP_PROP_FPS, 36)
OpenCV returns a numpy array in BGR so we need to read and do a bit of
shuffling to get it into the expected RGB format.
ret, image = cap.read()
# convert opencv output from BGR to RGB
image = image[:, :, [2, 1, 0]]
This data reading and processing takes about 3.5 ms.
Image Preprocessing
We need to take the frames and transform them into the format the model expects. This is the same processing as you would do on any machine with the standard torchvision transforms.
from torchvision import transforms

preprocess = transforms.Compose([
    # convert the frame to a CHW torch tensor for training
    transforms.ToTensor(),
    # normalize the colors to the range that mobilenet_v2/3 expect
    transforms.Normalize(mean=[0.485, 0.456, 0.406], std=[0.229, 0.224, 0.225]),
])
input_tensor = preprocess(image)
# The model can handle multiple images simultaneously so we need to add an
# empty dimension for the batch.
# [3, 224, 224] -> [1, 3, 224, 224]
input_batch = input_tensor.unsqueeze(0)
Model Choices
There’s a number of models you can choose from to use with different performance
characteristics. Not all models provide a qnnpack pretrained variant so for
testing purposes you should chose one that does but if you train and quantize
your own model you can use any of them.
We’re using mobilenet_v2 for this tutorial since it has good performance and
accuracy.
Raspberry Pi 4 Benchmark Results:
Model |
FPS |
Total Time (ms/frame) |
Model Time (ms/frame) |
qnnpack Pretrained |
|---|---|---|---|---|
mobilenet_v2 |
33.7 |
29.7 |
26.4 |
True |
mobilenet_v3_large |
29.3 |
34.1 |
30.7 |
True |
resnet18 |
9.2 |
109.0 |
100.3 |
False |
resnet50 |
4.3 |
233.9 |
225.2 |
False |
resnext101_32x8d |
1.1 |
892.5 |
885.3 |
False |
inception_v3 |
4.9 |
204.1 |
195.5 |
False |
googlenet |
7.4 |
135.3 |
132.0 |
False |
shufflenet_v2_x0_5 |
46.7 |
21.4 |
18.2 |
False |
shufflenet_v2_x1_0 |
24.4 |
41.0 |
37.7 |
False |
shufflenet_v2_x1_5 |
16.8 |
59.6 |
56.3 |
False |
shufflenet_v2_x2_0 |
11.6 |
86.3 |
82.7 |
False |
MobileNetV2: Quantization and JIT
For optimal performance we want a model that’s quantized and fused. Quantized
means that it does the computation using int8 which is much more performant than
the standard float32 math. Fused means that consecutive operations have been
fused together into a more performant version where possible. Commonly things
like activations (ReLU) can be merged into the layer before (Conv2d)
during inference.
The aarch64 version of pytorch requires using the qnnpack engine.
import torch
torch.backends.quantized.engine = 'qnnpack'
For this example we’ll use a prequantized and fused version of MobileNetV2 that’s provided out of the box by torchvision.
from torchvision import models
net = models.quantization.mobilenet_v2(pretrained=True, quantize=True)
We then want to jit the model to reduce Python overhead and fuse any ops. Jit gives us ~30fps instead of ~20fps without it.
net = torch.jit.script(net)
Putting It Together
We can now put all the pieces together and run it:
import time

import torch
import numpy as np
from torchvision import models, transforms

import cv2
from PIL import Image

torch.backends.quantized.engine = 'qnnpack'

cap = cv2.VideoCapture(0, cv2.CAP_V4L2)
cap.set(cv2.CAP_PROP_FRAME_WIDTH, 224)
cap.set(cv2.CAP_PROP_FRAME_HEIGHT, 224)
cap.set(cv2.CAP_PROP_FPS, 36)

preprocess = transforms.Compose([
    transforms.ToTensor(),
    transforms.Normalize(mean=[0.485, 0.456, 0.406], std=[0.229, 0.224, 0.225]),
])

net = models.quantization.mobilenet_v2(pretrained=True, quantize=True)
# jit model to take it from ~20fps to ~30fps
net = torch.jit.script(net)

started = time.time()
last_logged = time.time()
frame_count = 0

with torch.no_grad():
    while True:
        # read frame
        ret, image = cap.read()
        if not ret:
            raise RuntimeError("failed to read frame")

        # convert opencv output from BGR to RGB
        image = image[:, :, [2, 1, 0]]
        permuted = image

        # preprocess
        input_tensor = preprocess(image)

        # create a mini-batch as expected by the model
        input_batch = input_tensor.unsqueeze(0)

        # run model
        output = net(input_batch)
        # do something with output ...

        # log model performance
        frame_count += 1
        now = time.time()
        if now - last_logged > 1:
            print(f"{frame_count / (now-last_logged)} fps")
            last_logged = now
            frame_count = 0
Running it shows that we’re hovering at ~30 fps.
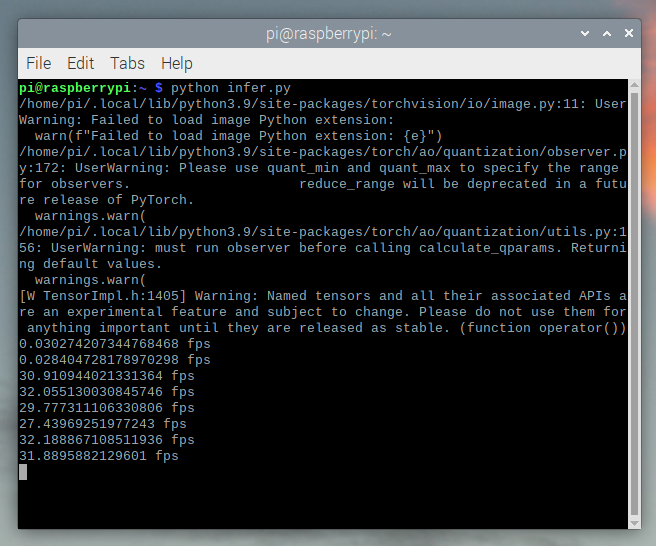
This is with all the default settings in Raspberry Pi OS. If you disabled the UI and all the other background services that are enabled by default it’s more performant and stable.
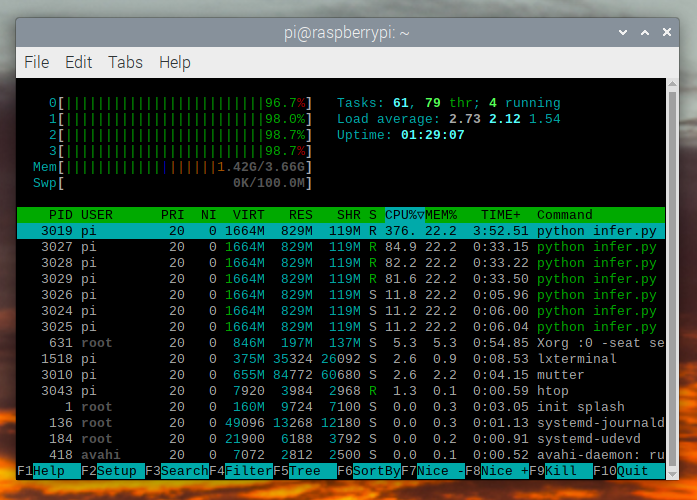
If we check htop we see that we have almost 100% utilization.
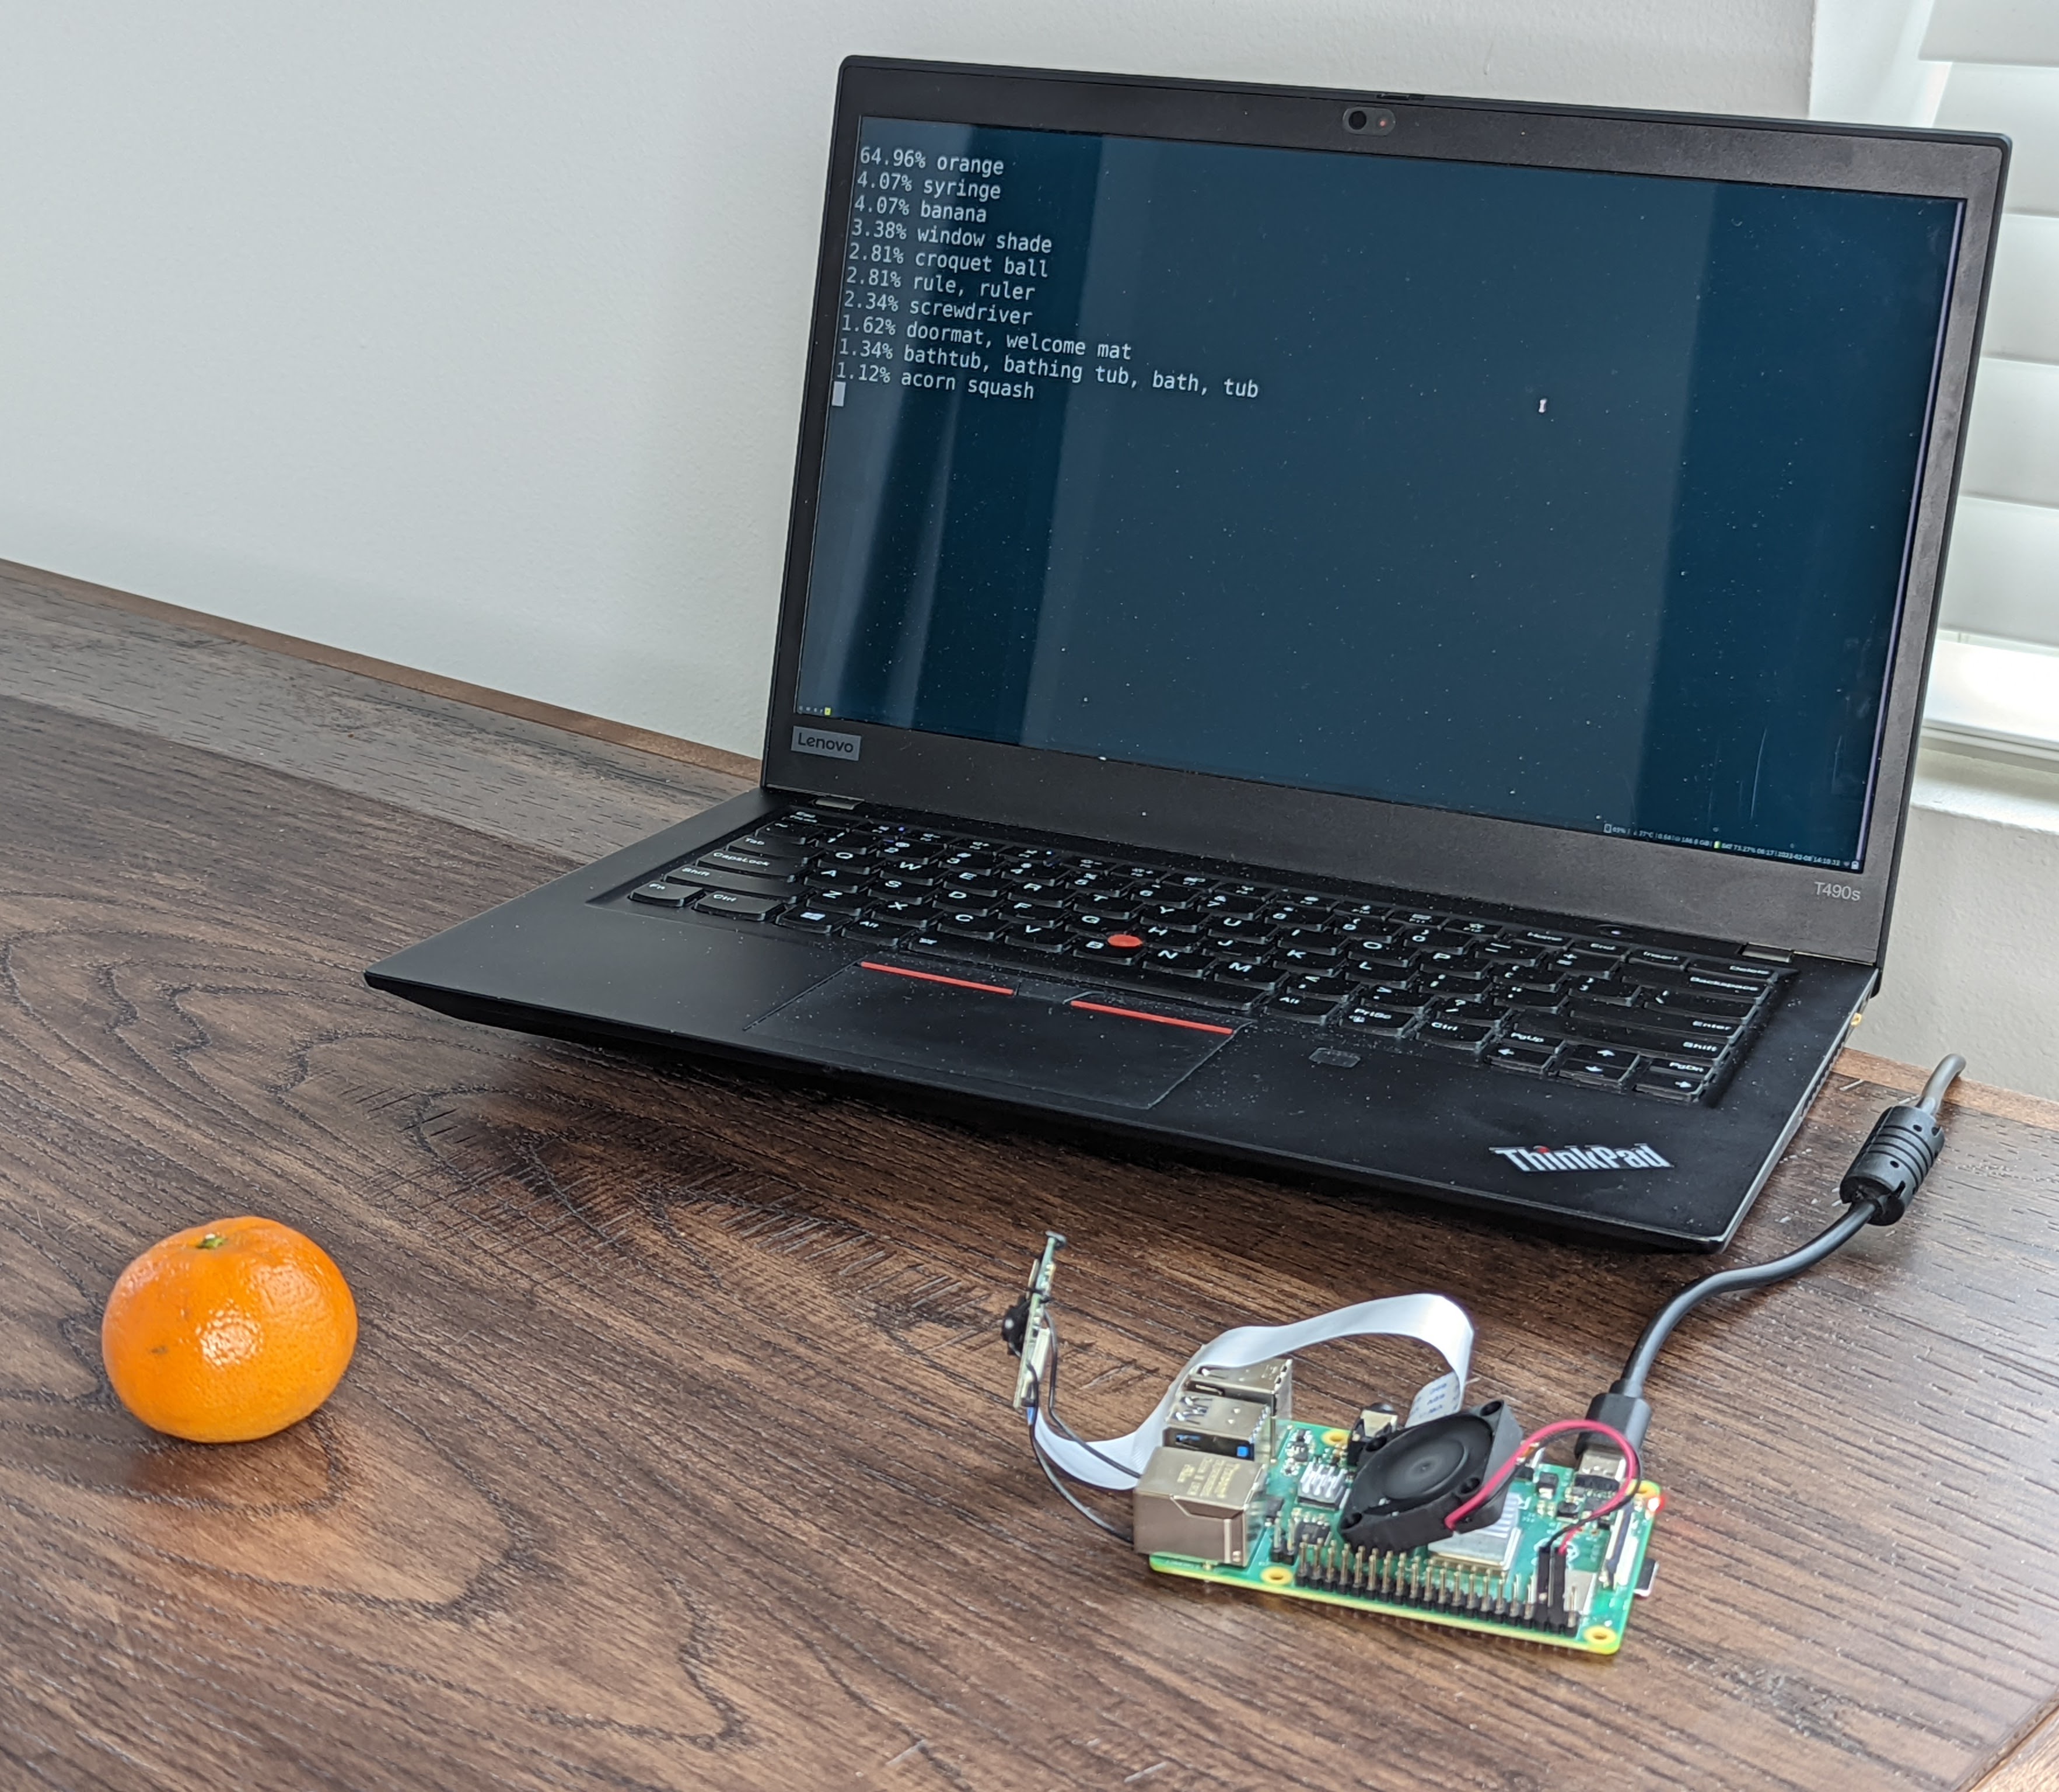
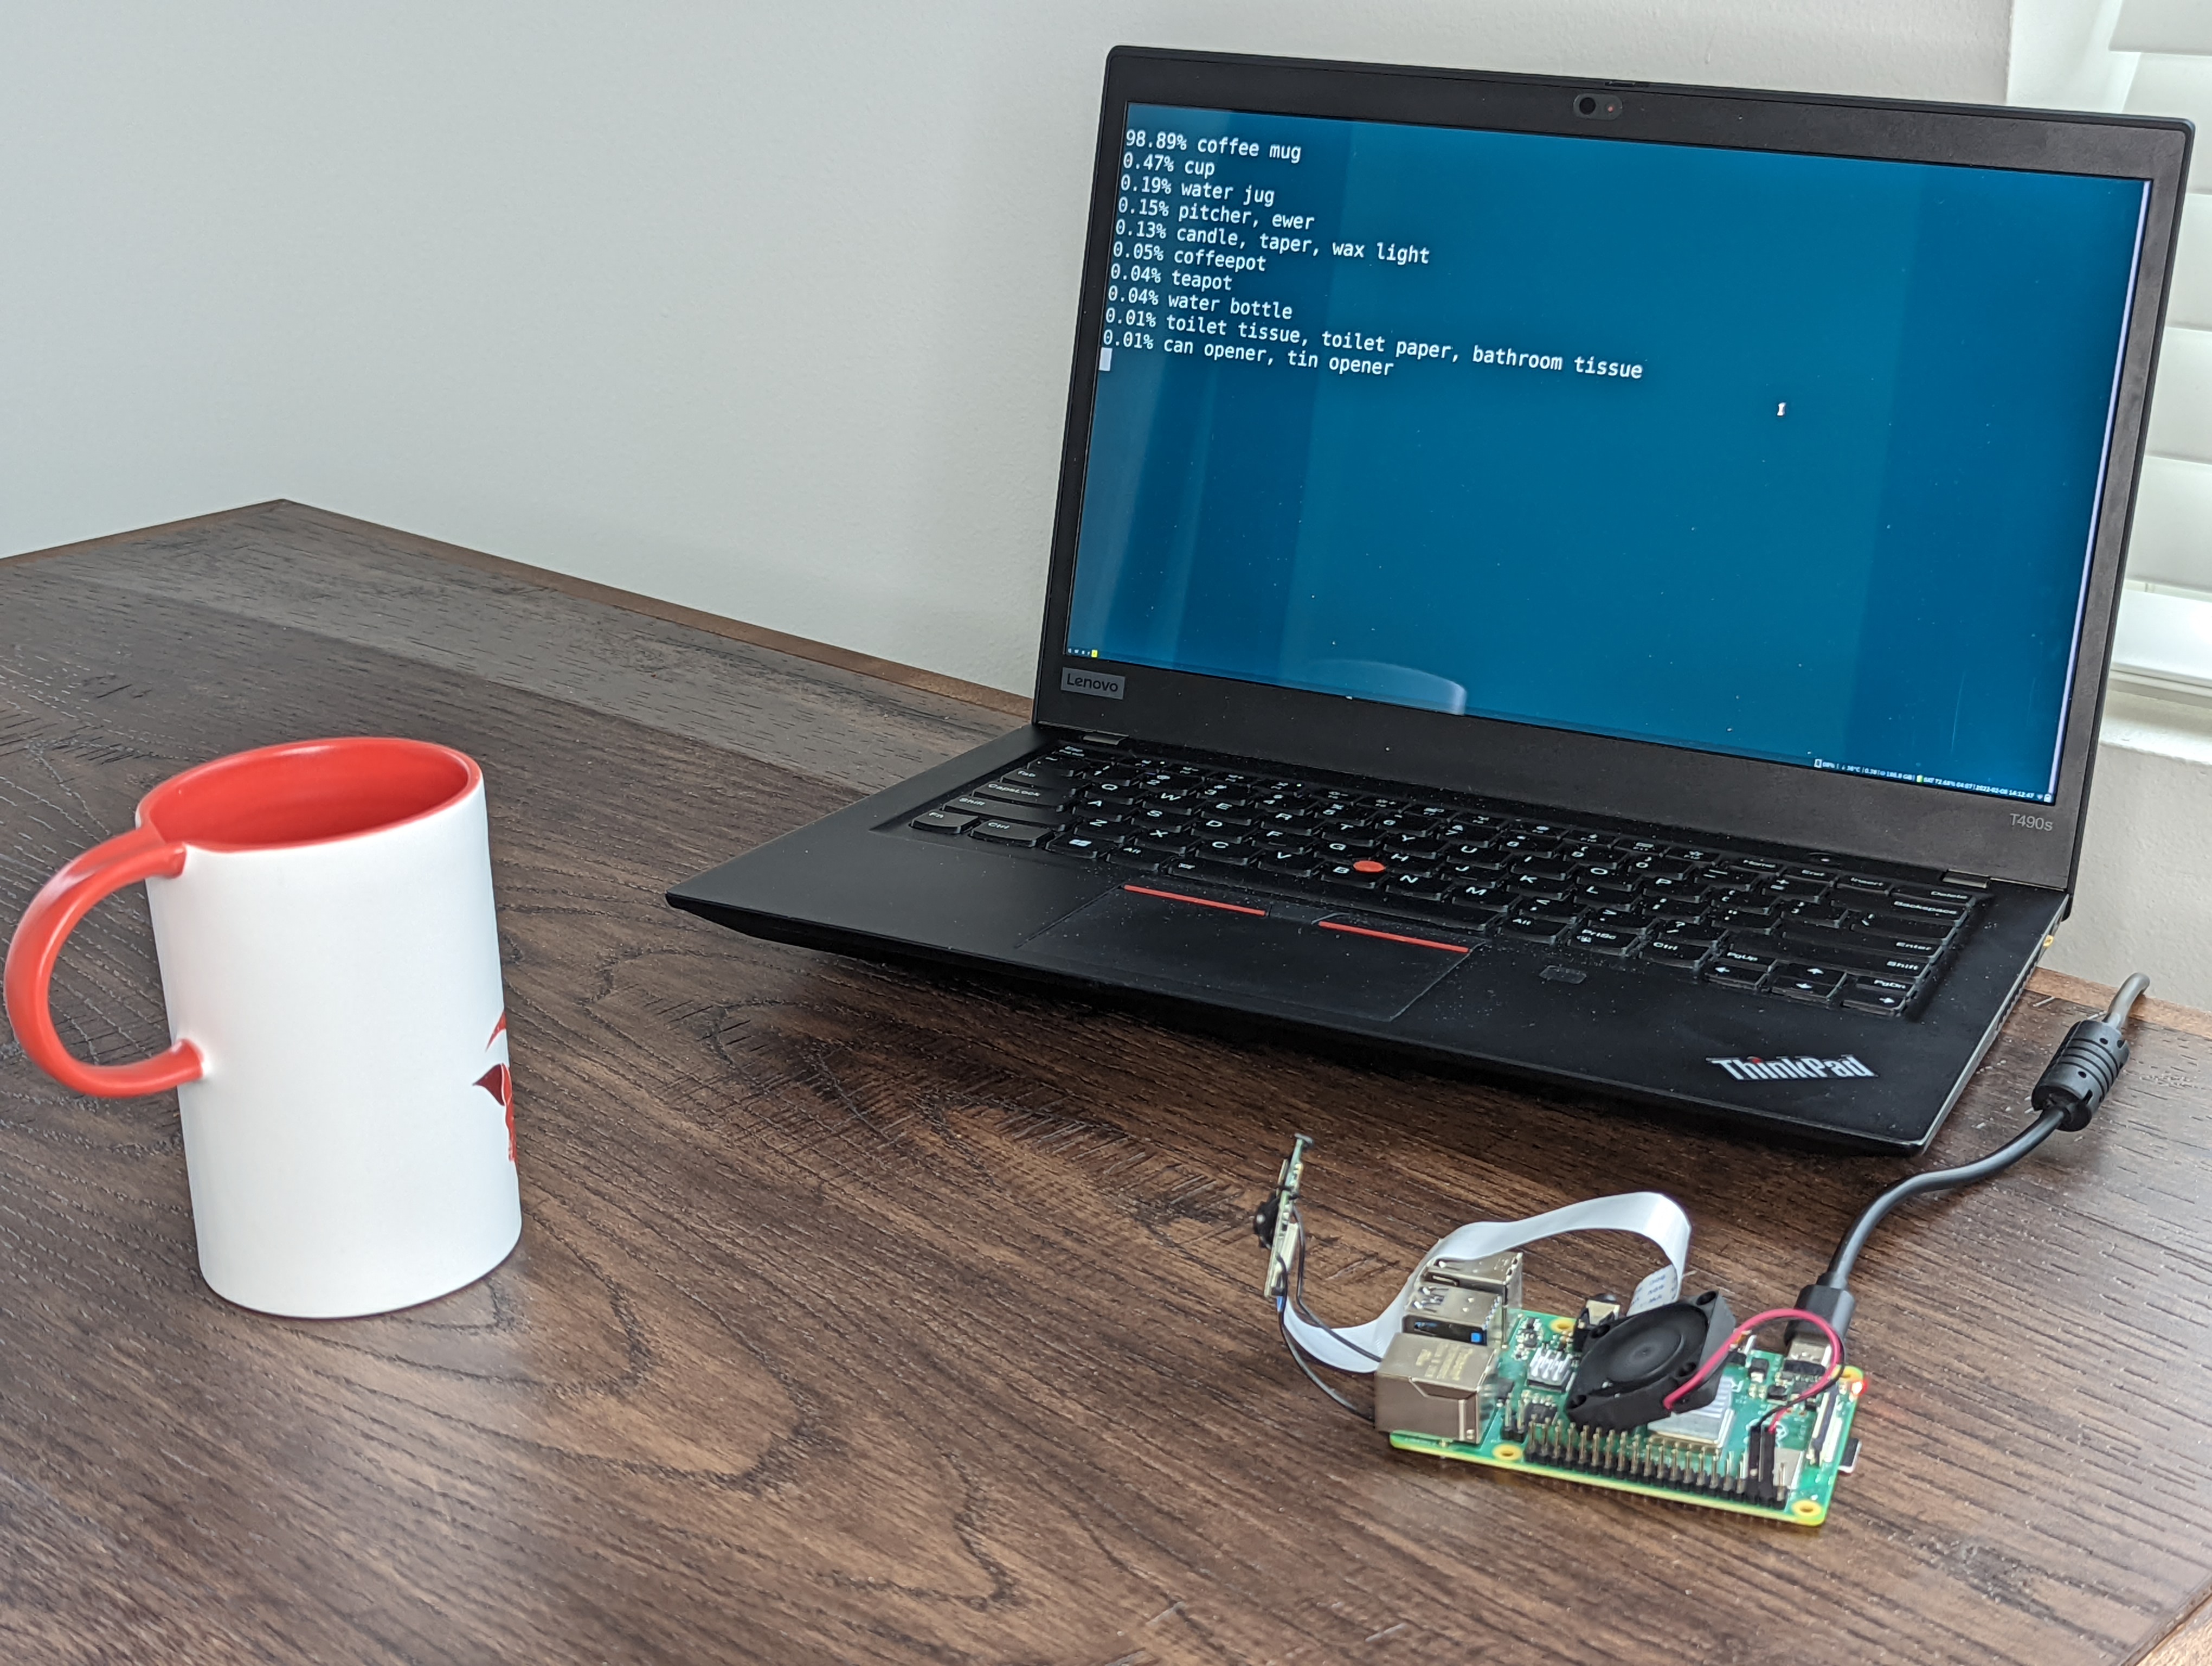
To verify that it’s working end to end we can compute the probabilities of the classes and use the ImageNet class labels to print the detections.
top = list(enumerate(output[0].softmax(dim=0)))
top.sort(key=lambda x: x[1], reverse=True)
for idx, val in top[:10]:
    print(f"{val.item()*100:.2f}% {classes[idx]}")
mobilenet_v3_large running in real time:
Detecting an orange:
Detecting a mug:
Troubleshooting: Performance
PyTorch by default will use all of the cores available. If you have anything running in the background on the Raspberry Pi it may cause contention with the model inference causing latency spikes. To alleviate this you can reduce the number of threads which will reduce the peak latency at a small performance penalty.
torch.set_num_threads(2)
For shufflenet_v2_x1_5 using 2 threads instead of 4 threads
increases best case latency to 72 ms from 60 ms but eliminates the
latency spikes of 128 ms.
Next Steps
You can create your own model or fine tune an existing one. If you fine tune on one of the models from torchvision.models.quantized most of the work to fuse and quantize has already been done for you so you can directly deploy with good performance on a Raspberry Pi.
See more:
Quantization for more information on how to quantize and fuse your model.
Transfer Learning Tutorial for how to use transfer learning to fine tune a pre-existing model to your dataset.
